Free Setup Guide
Printer Setup Guide: Wi-Fi & Computer, Step by Step
Follow these steps to connect a new or existing printer to your Wi-Fi network or directly to a Windows or Mac computer. No account, download or purchase required.
Works with most Wi-Fi capable printers — steps may vary slightly by model.
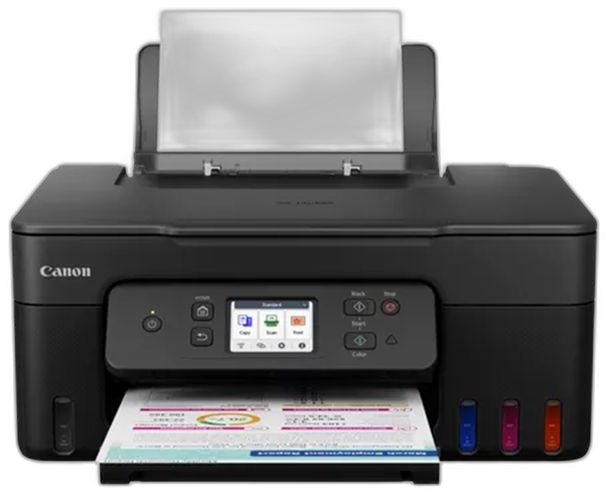
Setup steps
Unbox and power on your printer
Remove all shipping tape and protective packaging from the paper tray, scanner lid and ink or toner compartment before plugging in the power cable.
Load a small stack of plain paper into the main tray and press the power button. Most printers run a short automatic calibration the first time they're switched on — this is normal and can take a minute or two.
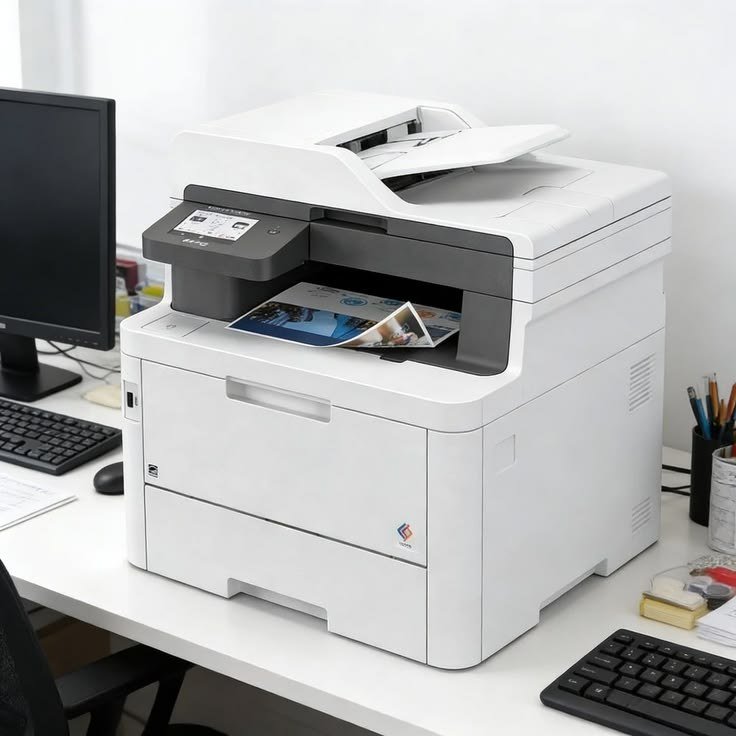
Choose your connection type
Decide whether you want to connect over Wi-Fi (wireless, works from any device on the same network) or USB (a direct cable to one computer). Wi-Fi is usually the better choice if more than one device will print to it.
- Wi-Fi setup — best for home or shared office use across multiple devices
- USB setup — best for a single computer, or printers without wireless hardware
- WPS button setup — a quick alternative if your router supports WPS pairing
Connect to Wi-Fi using the printer's screen
On the printer's built-in display, open the Settings or Network menu and select Wireless Setup Wizard (naming varies by model). Choose your home Wi-Fi network from the list, then enter your Wi-Fi password using the on-screen keyboard.
Wait for the printer to confirm a successful connection — most models show a solid Wi-Fi light or a confirmation screen once connected.
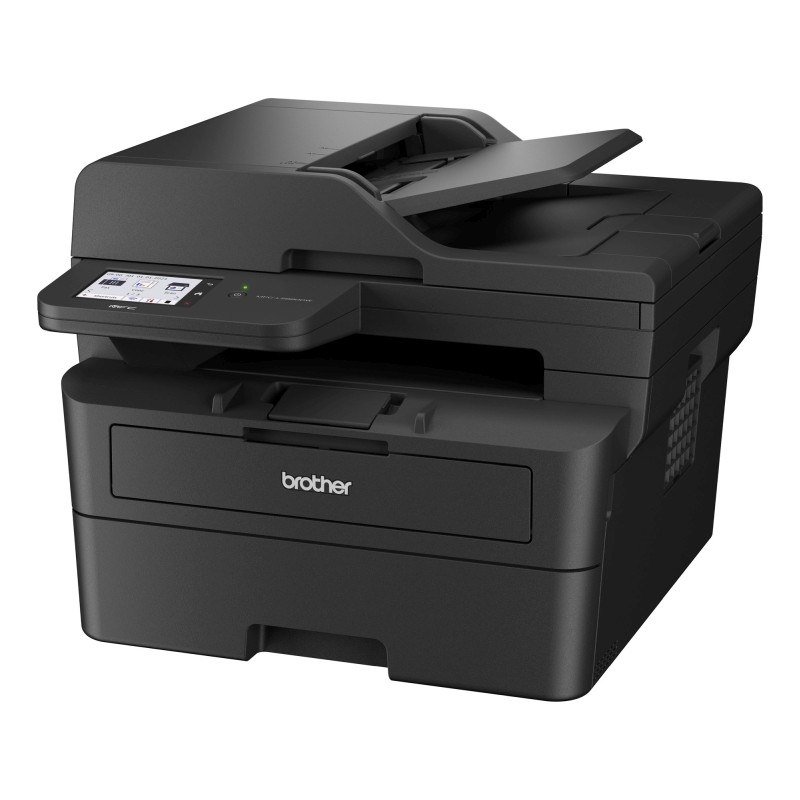
Or connect using the WPS button
If your router has a WPS button, you can skip typing a password. Press and hold the Wi-Fi or WPS button on the printer until the wireless light blinks, then press the WPS button on your router within two minutes.
Install the driver on Windows or Mac
On Windows, open Settings > Bluetooth & devices > Printers & scanners, select Add device, and choose your printer once it appears in the list.
On macOS, open System Settings > Printers & Scanners, click the plus (+) button, and select your printer from the list. macOS will usually download the correct driver automatically.

Set it as your default printer and test
Once installed, set the printer as your default so documents print to it automatically. Open any document, choose Print, select your printer, and print a single test page to confirm everything is working.
Related guides
Setup FAQ
Do I need to install anything before connecting my printer?
What if my printer doesn't have a screen?
Can I connect the same printer to more than one computer?
Wi-Fi not connecting after setup?
Our Wi-Fi troubleshooting guide covers dropped signals, wrong passwords, and printers stuck offline.